开发环境配置指南
vscode + scons + arm-none-eabi-gcc + cortex-debug + jlink
1. 准备
1.1 安装 vscode 软件
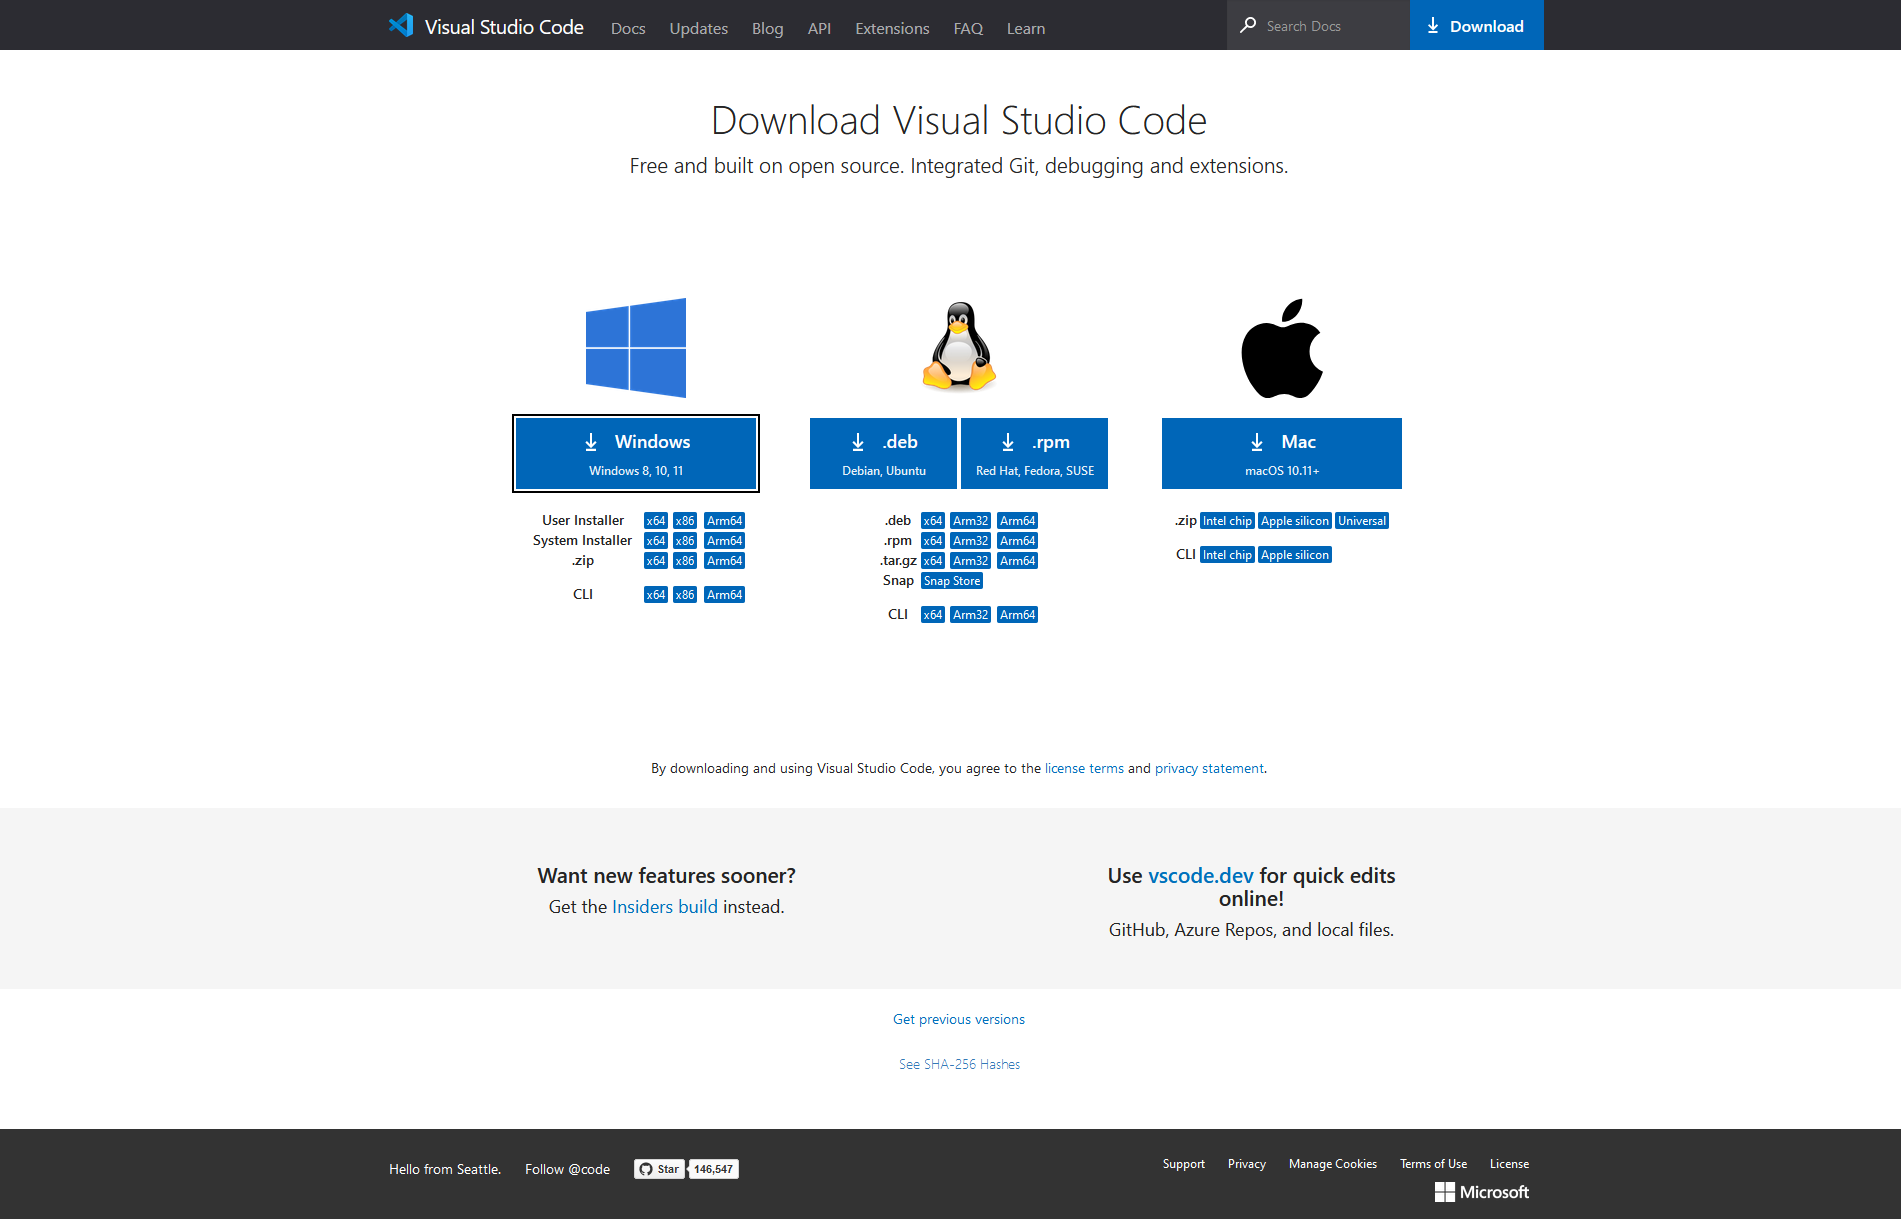
install vscode extentions: C/C++ & C/C++ Extension Pack |
install vscode extentions: Cortex-Debug |
install vscode extentions: RTOS-Views, Memory-View, Peripheral-Viewer |
1.2 安装 python 环境
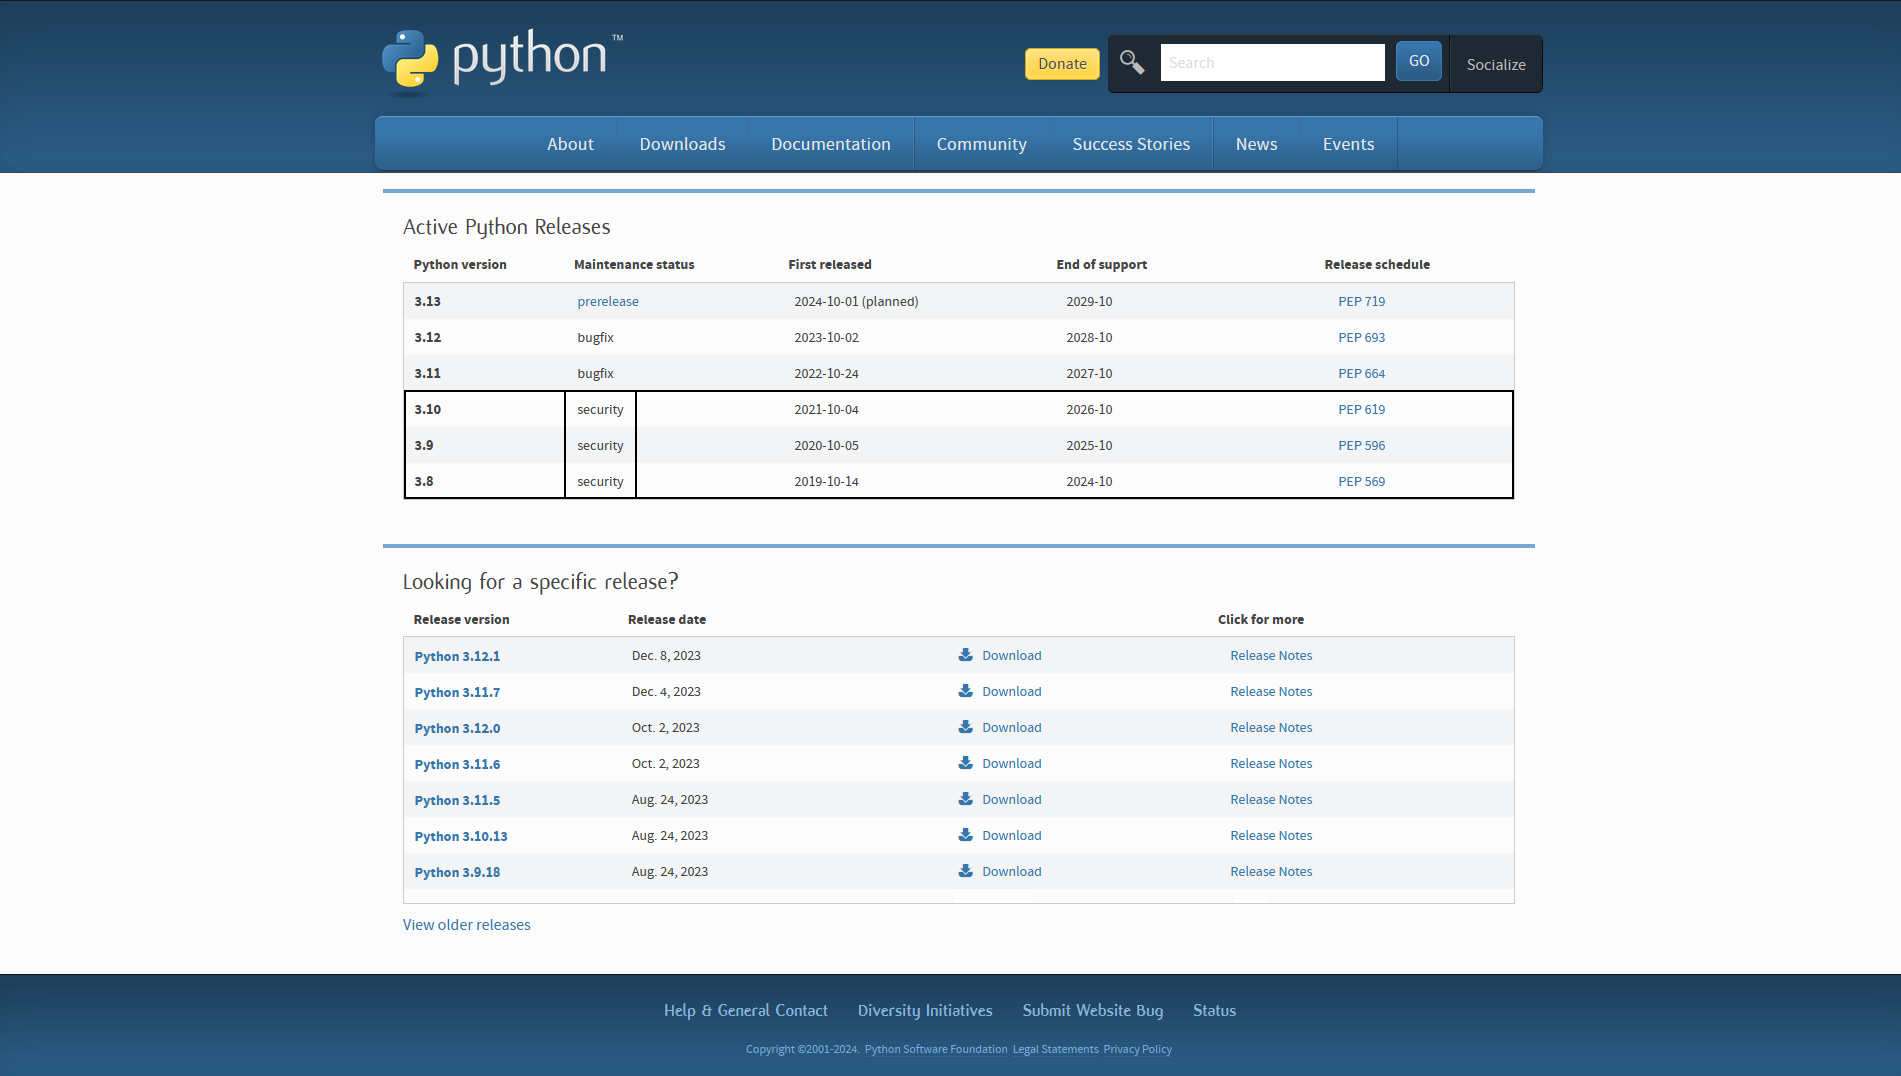
install python scripts: cmd > pip install scons==3.1.2 |
install python scripts: cmd > pip install pywin32 |
import os |
2. 编译
2.1 安装 arm-none-eabi 交叉编译工具链
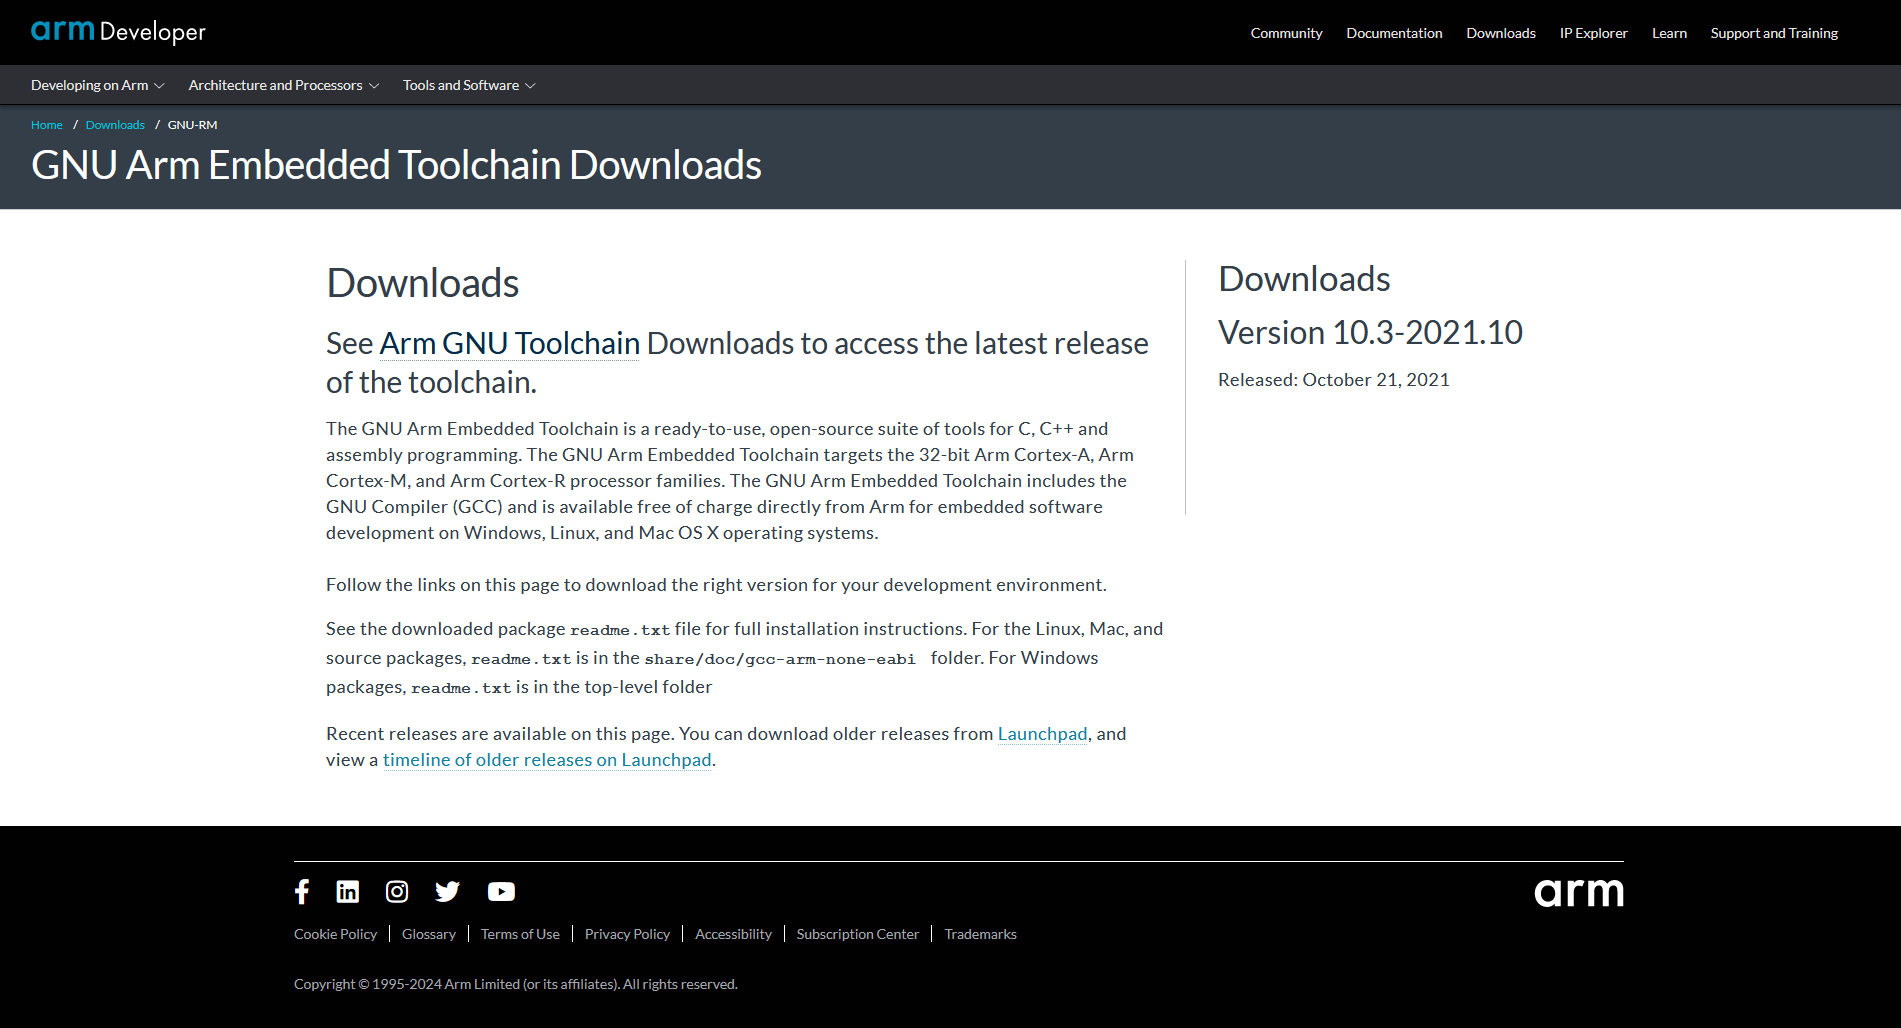
将压缩文件解压至任意位置 |
2.2 新建 build 任务
若任务存在则该步骤可跳过 |
{ |
2.3 测试 build 任务
使用 vscode 打开测试工程 |
点击 Terminal->RunTask->build(首次执行时会报错并自动生成 rtconfig.ini 文件) |
打开 rtconfig.ini 填入 arm-none-eabi 安装路径(i.e. d:\arm-none-eabi-10.3-2021.10\bin) |
点击 Terminal->RunTask->clean |
点击 Terminal->RunTask->build |
3. 烧录
3.1 安装 JLink 工具
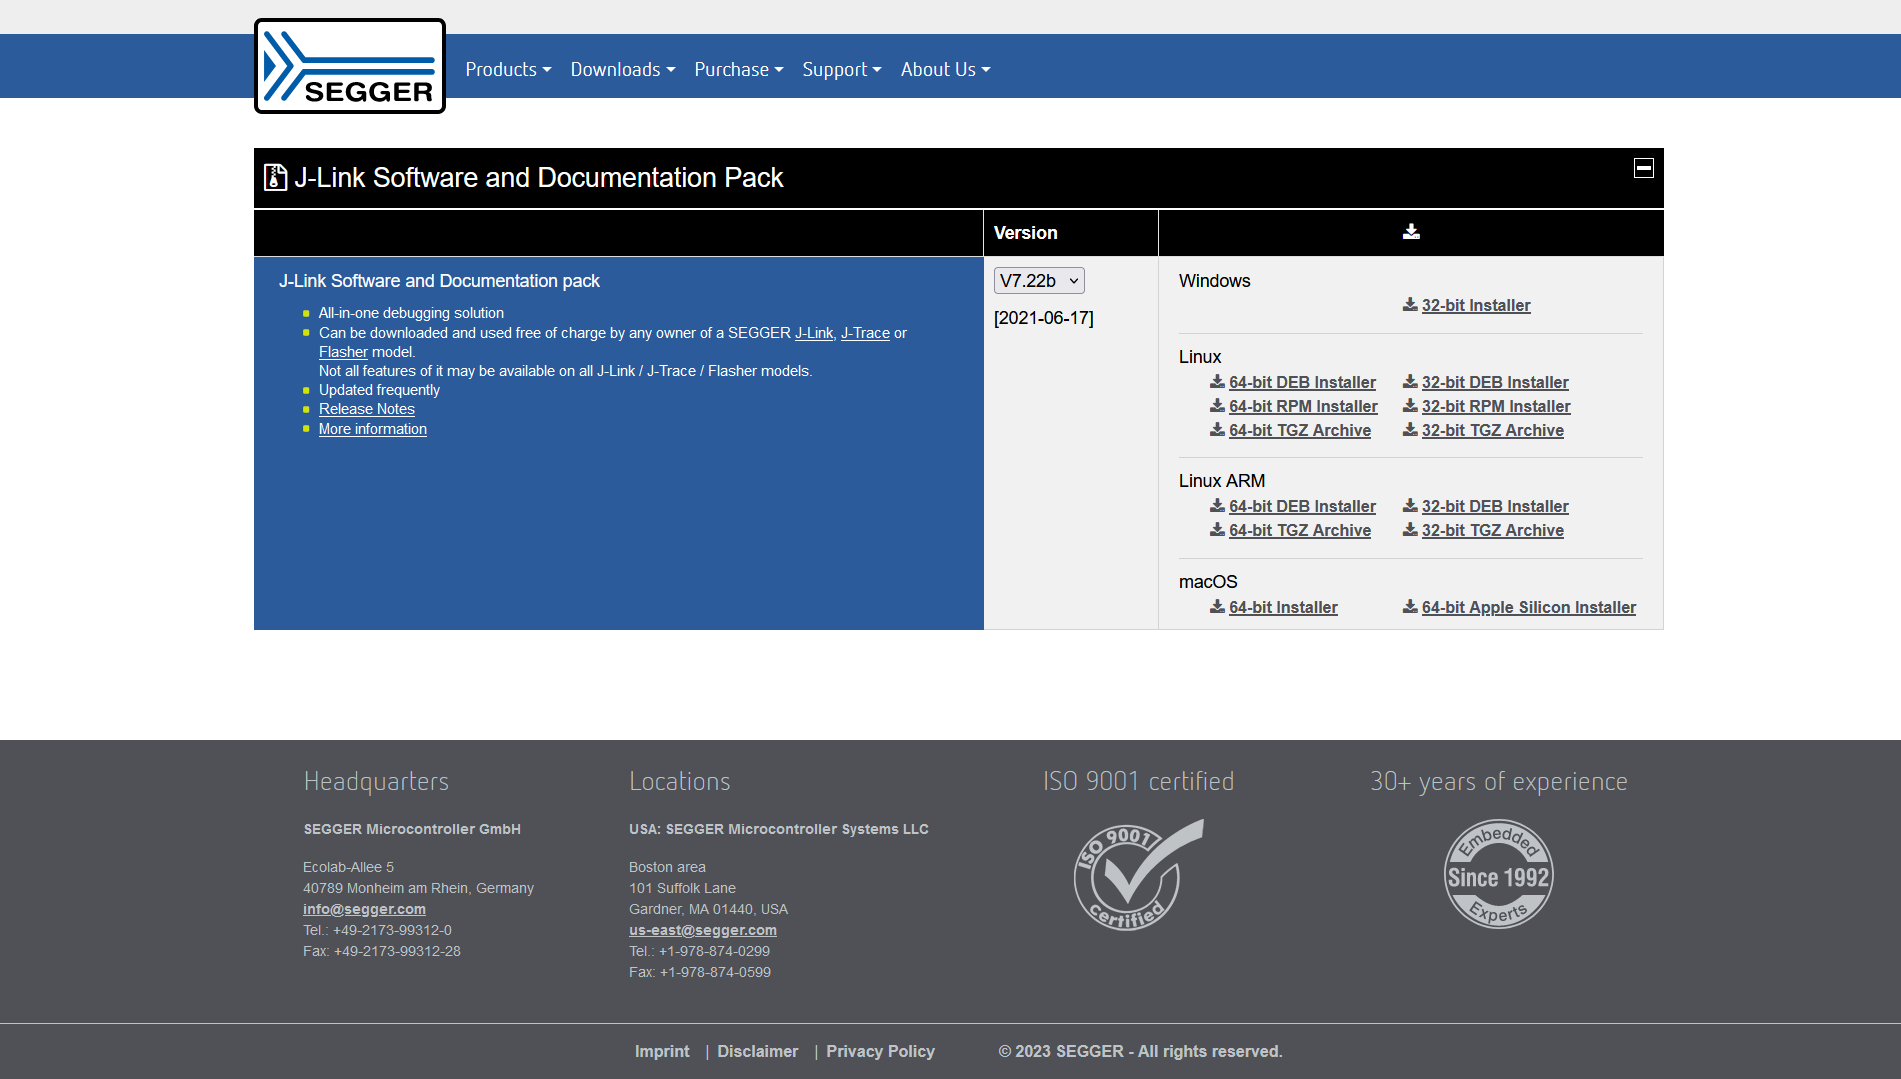
安装 JLink 后要记得修改 JLinkDevices.xml 并拷贝相应的 device 文件 |
3.2 编写 write 脚本
若脚本存在则该步骤可跳过 |
@echo off |
r |
3.3 新建 write 任务
若任务存在则该步骤可跳过 |
{ |
3.4 测试 write 任务
使用 vscode 打开测试工程 |
点击 Terminal->RunTask->build |
点击 Terminal->RunTask->write(首次执行时会报错并自动生成 build/gcc/bin/download.ini 文件) |
打开 download.ini 填入 JLink.exe 所在路径(i.e. d:\JLink_V722b\JLink.exe)(注意 JLink.exe 不能省略) |
点击 Terminal->RunTask->write |
点击 Terminal->RunTask->batch (batch == build + write) |
4. 调试
4.1 安装 vscode 插件
Cortex-Debug |
RTOS-Views |
Memory-View |
Peripheral-Viewer |
4.2 配置 vscode 插件
"cortex-debug.ArmToolchainPath" : "i.e. d:\\arm-none-eabi-10.3-2021.10\\bin", |
4.3 新建 launch 配置
若配置存在则该步骤可跳过 |
{ |
4.3 测试 launch 配置
使用 vscode 打开测试工程 |
点击 RunAndDebug 图标(左侧边栏) |
选择 launch 配置 |
点击 StartDebugging 按钮启动调试 |
左侧 VARIABLES 窗口查看本地变量数据 |
左侧 WATCH 窗口查看变量数据 |
左侧 XPERIPHERALS 窗口查看寄存器数据 |
打开 MEMORY 窗口查看内存数据 |
打开 DEBUG CONSOLE 窗口键入 x/nfu addr 查看内存数据 |
5. 跳转
5.1 安装 mingw 环境
将压缩文件解压至任意位置 |
5.2 配置 C/C++ 插件
"C_Cpp.default.compilerPath": "i.e. d:\\mingw-w64-builds\\x86_64-win32-seh-ucrt\\mingw64\\bin\\gcc.exe", |
5.3 配置 c_cpp_properties.json 文件
{ |
5.4 测试 c_cpp_properties.json 文件
重启 vscode 打开测试工程后不弹出警告即可 |
6. 交互(shell)
6.1 安装 shell 工具
6.2 新建 shell 会话
- 会话 |
6.3 测试 shell 交互
msh > |